
Astrophotography equipmentEquipment
Overview
I bought my first serious telescope around 8 years ago and got into astrophotography soon after this. It allows me to take long exposures of objects out in space and hence see things that are almost invisible otherwise.
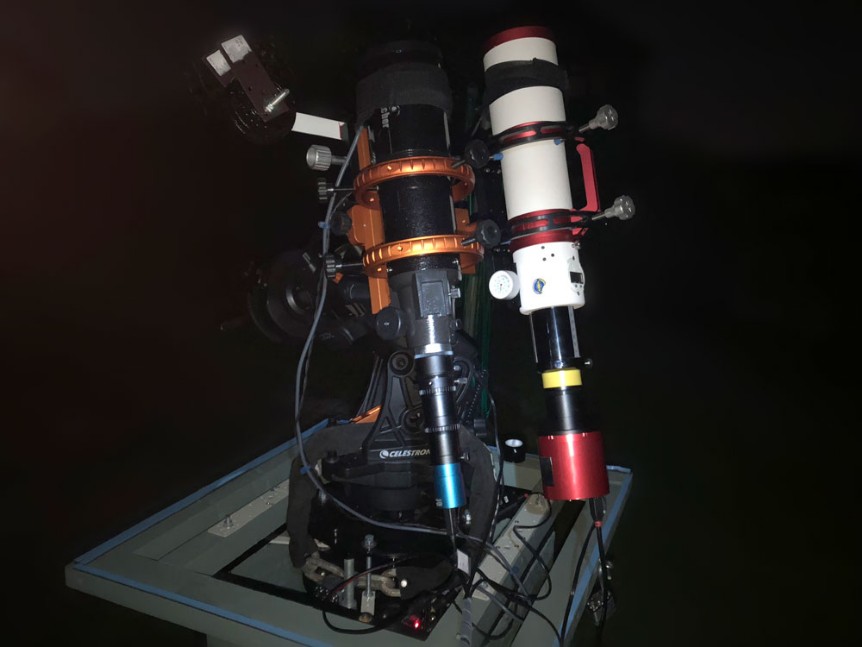
My current telescopes are a Celestron 235mm EdgeHD "Schmidt Cassegrain" and a Williams Optics GT81 "refractor"
Both telescopes sit on computer assisted "goto" mount that will point them to any specified object, and then track that object, without further intervention from me. This is a minimum prerequisite for astrophotography.
The mount must be accurately aligned with the pole star and I have another small telescope that fits into an adapter on both mounts to facilitate this. The telescope must then be pointed towards several known stars contained in the drive systems database and must itself be aligned on these stars to calibrate the goto system to allow accurate tracking. It sounds more complicated than it is but can take as little as 30 minutes, allowing time for the telescopes to physically cool and reach the outside air temperature.
My setup is typical of many "backyard" amateur astronomers whereby a digital camera is attached to the eyepiece of the telescope using various adapters. Using a laptop with some software to control this camera, photographs are collected over several hours to be processed in software later on and the final image can be rendered.
The picture above is a screen grab of a 300 second exposure using APT. The images are stored as .FIT files and I use FITS Liberator to help me review the images, check framing and check the target.
In a typical session I will take maybe 20 - 50 images anywhere from 2 minutes - 5 minutes each and then take a number of flat, dark and bias images that will be used for noise reduction in the later image processing stage...........if all goes well I should have a nice, final photograph of the object.
The picture above is a screen grab of the autoguiding software at work and is called PHD 2
You can see a small green box in the bottom left of the photo that PHD 2 is using as a guide star from an image it is getting through the guiding telescope. PHD 2 attempts to keep this star in a fixed position in this window by sending small guide commands to the mount the scopes are sitting on and helping to correct for small errors as the mount tracks the object I am trying to photograph. The graph along the top is a realtime display of how well the guide star is being tracked which directly affects the quality of the final image. If the telescope mount is bumping around too much the final image will be ruined.

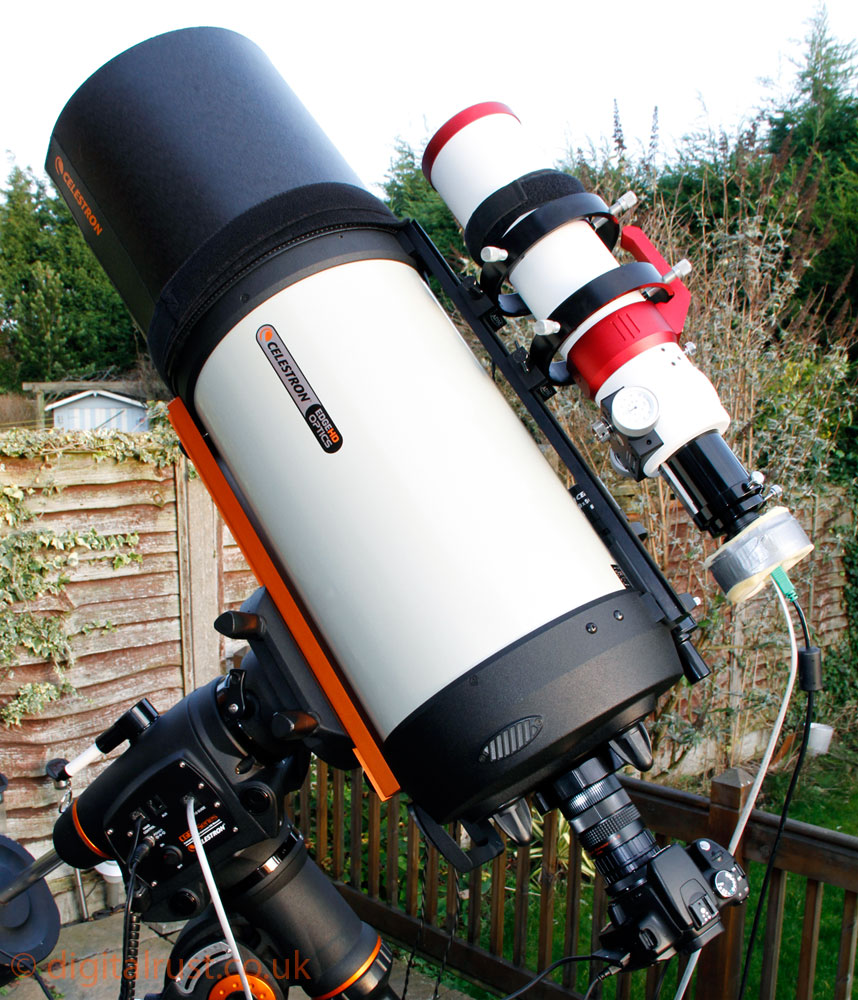

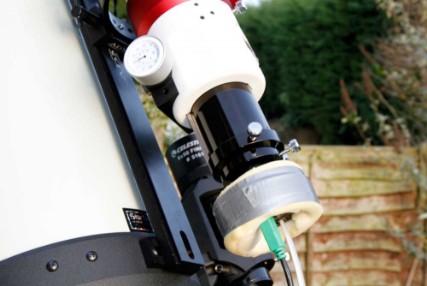
The picture above shows the various filters and correctors between the eyepiece and the DSLR camera.
Item 1 is a simple protective glass filter to stop anything damaging the telescope optics
Item 2 is a CLS filter made by Astronomik used to help block the light pollution from Mercury and Sodium vapour street lights.
Item 3 is a Celestron Reducer / Corrector lens that reduces the telescopes native focal ratio of F10 to F6.3
Item 4 is a 2" coupling that attaches the DSLR to the telescope.
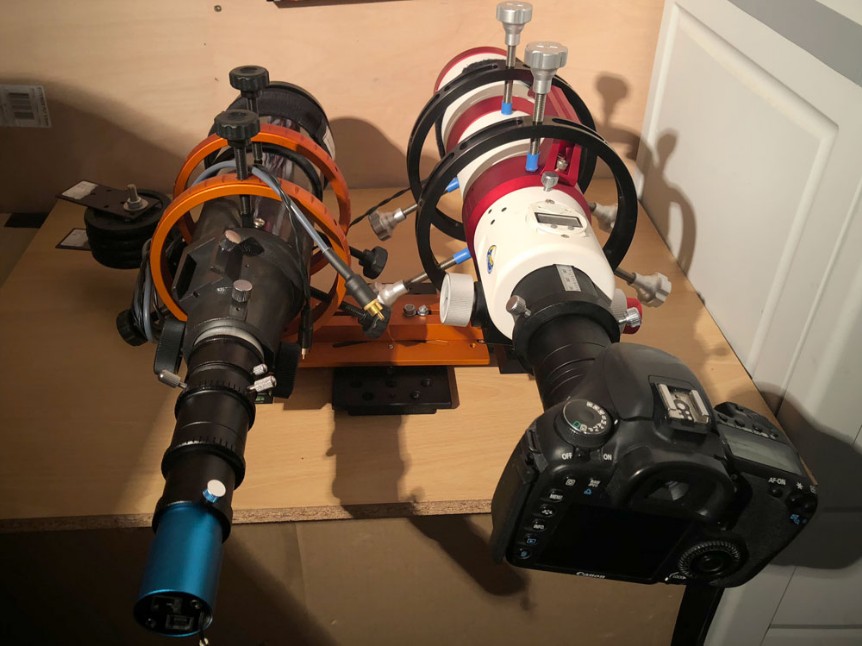
The picture above shows the guiding camera attached to the eyepiece / focuser of the guide telescope. It is piggybacked onto the main telescope using a dovetail bar and 2 rings manufactured by ADM. The guide camera is the very common QHY5 usb2 camera with 1/2 inch CMOS sensor that I have found to be perfect for its purpose. It is wrapped in foam as I wrecked the first one when it was dropped.
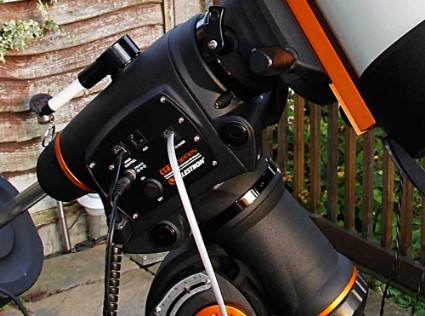
The picture on the left shows the connexions to the CGEM telescope mount and how simple it all is to connect up. There is a power supply cable to the mount itself, the mount controller cable used to communicate with the goto system and the silver coloured cable that connects directly to the auto guide port from the guide camera.
A summary of my frequently used equipment is listed here;
Celestron EdgeHD 235mm F10 telescope
Celestron Computerised German Equitorial Mount ( CGEM ) goto mount
Williams Optics GT81 F5.9 refractor telescope
Polar alignment telescope
Canon 350D dslr ( with I.R cut mod ) for long exposure astrophotography
Imaging Source DFK 21AU04.AS video camera for lunar and planetary photos
Samsung R150 laptop for image aquisition and driving remote cameras
Samsung N220 netbook for driving the CGEM goto mount and logging
Pentaflex (Celestron clone) portable power tank to provide DC power for the CGEM goto system
Nikkai portable power tank to provide DC power for the dew heater strips and misc lighting.
Miscellaneous;
Teleskop - Service 2" TS Field Flattener ( #14752 ) for the GT 81 + assorted spacers
Celestron #93621 skylight filter
Astronomik CLS-filter (R121)
Celestron #94175 F6.3 focal reducer
Tele Vue #BLW-3125 3x Barlow
Celestron #93506 SV series Ultima 2x Barlow
Baader #2408160 ( 15mm optical length ) ultra short T-adapter
ADM rings / dovetail to piggy back the guide scope to the main telescope - part number MDB-C9.25
Rother Valley Optics 4 channel dew controller
Celestron #94013 dew shield
Revelation Pro heater tapes
Axiom LX 23mm 2" eyepiece
Celestron #93519 2" Mirror star diagonal
Assorted plossl / Vixen and Celestron eyepeices
Here are some pdf's you can download which again I have found very useful with respect to my setup
Orion Optics Europa telescope instruction manual - download the pdf here
Vixen Great Polaris mount instruction manual - download the pdf here
Vixen Starbook - S Goto controller instruction manual - download the pdf here
Celestron EdgeHD series telescope instruction manual - download the pdf here
Celestron CGEM series instruction manual - download the pdf here
Collimating an SCT, copyright and author Rod Mollise - download the pdf here
Enhanced CGEM Polar Alignment instructions - download the pdf here
Precise Polar alignment by Celestron support - download the pdf here
Why are my Gotos off and what can I do about it, copyright and author Ken Hutchinson - download the pdf here
Specifications for an AC adapter suitable for a Celestron CGEM mount by Celestron support - download the pdf here